Follow step-by-step instructions to install, update, or troubleshoot your printer software with ease.
Whether you're connecting a new printer or fixing an existing one, we help simplify the setup process.
✔Fast & simple installation steps
✔Works with Windows & macOS devices
✔Latest updated drivers and software
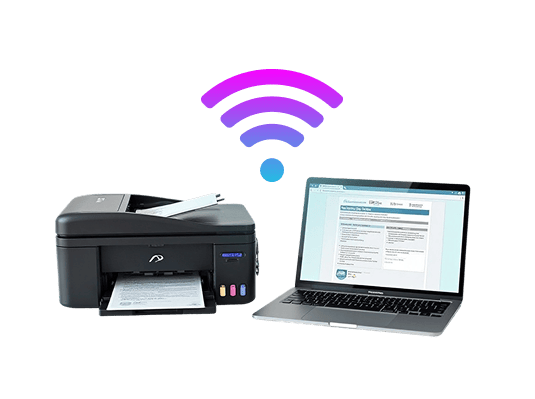
Step-by-Step Guide: Connecting Your Wireless Printer
Follow these simple, detailed steps to connect your wireless printer to your home or office network
and start printing from laptops, desktops, phones, and tablets without any cables.
Step 1: Prepare Your Printer and Wi-Fi Network
Before you begin any wireless setup, it’s important to make sure your environment is ready. Place your printer...
Next, check your Wi-Fi network. Make sure your router is turned on and broadcasting a stable wireless signal...
Step 2: Connect the Printer to Your Wireless Network
Now that everything is prepared, it’s time to connect the printer itself to your Wi-Fi network. On most modern printers...
Choose your Wi-Fi network from the list and confirm. When prompted, carefully enter your network password...
Step 3: Install Printer Software on Your Computer or Laptop
Once the printer is on your Wi-Fi, your computer needs the correct software and drivers to talk to it...
After downloading, run the installer and follow the on-screen instructions...
Step 4: Connect Phones and Tablets for Mobile Printing
With your printer working on the network and your computer connected, you can now set up mobile devices...
Open the app and look for an option like “Add Printer,” “Set Up a New Printer,” or “Detect Printers.”...
Step 5: Test, Troubleshoot, and Keep Everything Updated
After the setup is complete on your computers and mobile devices, it’s important to confirm that everything works...
If you do run into problems—such as the printer not appearing or frequent disconnects—there are a few common fixes...